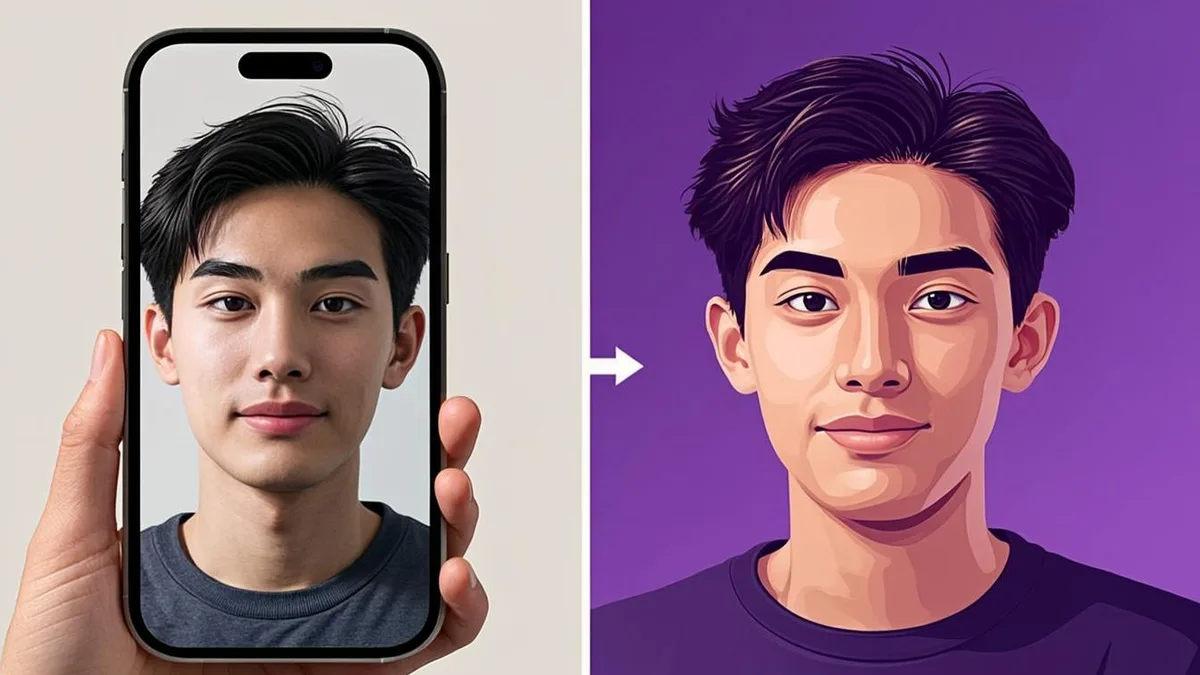
Turning a photo into an AI avatar sounds like something that should require a design team. In practice it takes about five minutes and four decisions: which photo, which style, which tweaks, and where to download. This walkthrough covers each step with the details that actually change the quality of the result — starting with the single most important factor, your source photo.
Step 1: Start with the right source photo
The AI can only work with what you give it, and a weak source photo is the number one reason avatars come out looking off. Before you upload anything, run your photo through this checklist:
- Lighting: even, front-facing light wins. A window at midday or a well-lit room beats a dim bar photo every time. Avoid harsh shadows across half your face.
- Angle: look straight at the camera or very close to it. Extreme side profiles and tilted headshots force the AI to guess, and its guesses can drift from your real features.
- Framing: your head and shoulders should fill most of the frame. Full-body shots make the face too small for the model to read reliably.
- Background: a plain wall or tidy room helps. Clutter behind you does not stop the process, but it gives the model noise to interpret.
- Expression and extras: sunglasses, heavy face coverings, or objects overlapping your face (hands, microphones, pets) all reduce likeness.
A phone selfie taken by a friend — or propped against a stack of books — is usually perfect. You do not need a studio.
Step 2: Choose a style that fits your goal
With the photo ready, the next decision is the visual direction. The right style depends on where the avatar will live more than on personal taste alone:
- A professional or studio style suits LinkedIn, resumes, and company profiles.
- Anime or cartoon styles suit Discord, personal accounts, and creative communities.
- 3D or gaming styles suit gaming profiles and streaming.
If you are torn, generate two styles and compare them side by side — it is free. Our guide on choosing the right AI avatar style walks through this decision in more depth, and the AI Avatar from Photo tool groups presets by category so you can experiment quickly.
Step 3: Customize the details
This is where a generic output becomes yours. Most generators, including AvatarForge, expose a few high-impact controls:
- Background: Original keeps your photo's setting; Studio and Office read as professional; Gradient and Abstract feel modern; Gaming and Nature set a mood. If you plan to place the avatar on a platform with its own background color, a subtle Studio or Solid background often blends best.
- Lighting: Natural for everyday realism, Studio for crisp portraits, Soft for a gentle look, Cinematic for drama.
- Expression: Friendly works almost everywhere; Confident suits founders and speakers; Professional is the safe LinkedIn pick; Serious and Creative are mood choices.
- Framing: Square for most platforms, Portrait for vertical spaces, Circle for Discord-style round crops, Rounded for a softer card-like edge.
Change one variable at a time if you are hunting for a specific look — regenerating after each single change teaches you quickly what each control does.
Step 4: Generate, review, and download
Hit generate and give the model a moment. When the result appears, review it honestly:
- Likeness check: Is it recognizably you — hairstyle, face shape, distinguishing features? Remember the result is an AI interpretation, so minor drift is normal.
- Artifact check: Look at glasses frames, earrings, and hair edges. If something looks melted or duplicated, simply regenerate.
- Size check: View the image at a small size. If it will be a profile picture, it needs to read clearly when shrunk.
When you are happy, download the PNG. AvatarForge downloads as a standard PNG file, free, with no signup.
Common mistakes to avoid
- Using a group photo. Crop to just you first, or the model will blend faces.
- Uploading a heavily filtered selfie. The AI inherits the filter's distortions.
- Judging the first result as final. Regeneration is part of the workflow, not a failure state.
- Ignoring the small-size test. A gorgeous avatar that turns to mush at 40 pixels is a weak profile picture.
Tips for the best likeness
If your first result feels only 80 percent you, these adjustments close the gap: use a sharper, closer source photo; pick a style that is closer to realism (extreme stylization always exaggerates); keep the Original background so the model anchors to your real setting; and try a Neutral or Friendly expression, which preserves facial structure better than dramatic poses. You can also fine-tune backgrounds and crops afterward in the AI Avatar Photo Editor rather than regenerating from scratch.
Ready to try it? Open the AI Avatar Generator, run one photo through two or three styles, and see which version of you emerges — it takes less time than scrolling your camera roll for the perfect selfie.